May 8, 2026

People usually start with ideas. A sketch. A piece they want to wear.
It starts off simple. There is inspiration, and you can already picture what the piece might look like. Turning that creative idea into real clothing feels exciting.
Then things get unclear.
How does that idea turn into something that can actually be worn? What comes after the sketch? How do you move from concept to a finished piece?
Fashion design has a long history, but it no longer feels out of reach. Today, anyone can start creating their own clothes.
Still, designing clothing follows a structured fashion design process used in the fashion industry. As designs grow and move toward production, it becomes harder to manage without structure.
This guide walks through each step, from idea to finished garment.
TL;DR
Designing clothes follows a clear process from idea to finished garment, including concept development, sketching, materials, fit, tech packs, sampling, and refinement.
The steps to design clothes are: start with a clear idea, create a sketch, choose fabrics, define measurements, build a tech pack, make a sample, and refine the design.
Common mistakes include skipping measurements, choosing the wrong fabric, and working without clear specs, which leads to issues during sampling and production.
Onbrand helps you connect design and production by keeping visuals, tech packs, and product data organized in one place.
What Does Designing Clothes Involve?
Designing clothing is more than coming up with ideas. It involves a series of decisions that shape how a garment will look, fit, and function.
The process includes:
Concept development
Sketching
Material selection
Fit and construction
Each step builds on the last.
At the start, it may feel creative and even a bit like art. There is often excitement when an idea begins to take shape. But designing clothing is not just about creativity. It is part of clothing product development, where details need to be clear and practical.
Design is not the same as styling or production. It sits in between, where ideas turn into something that can actually be made.
In the fashion industry, this stage is where direction is set. A clear design makes the next steps easier, while a vague one leads to problems later.
How to Design Clothes: Step-by-Step Guide
Designing clothes follows a clear sequence, where each step builds on the last. Breaking it down makes it easier to move from an idea to something you can actually produce.
Step 1: Start With a Clear Idea
Once you have an idea, the next step is to define it clearly.
Start with direction. Think about the person who will wear the garment, the occasion, and the season it is made for. A dress for a summer event needs a different plan than a jacket for daily wear.
Use inspiration to shape the concept, but do not stop there. Visual research can help you study colors, silhouettes, fabrics, and details from the fashion world. A simple fashion mood board can also help bring those references together.
From there, define the basics:
Garment type
Purpose
Style direction
Main details
Collection fit
A clear idea makes the next step easier. Before sketching, you should know what you are making and why it needs to exist.
Step 2: Create Your First Sketch
Then turn that idea into something you can see.
A sketch helps turn your concept into something you can work with. It helps you visualize how the garment will look before anything is made.
Fashion sketches are not about perfect drawing. They are about clarity.
Focus on:
The silhouette
Key details that define the piece
Sketching can be done on paper or on a computer using design software. Some designers use reference images or simple graphics to guide the process.
You don’t need a polished sketch. A rough sketch is enough as long as the idea is easy to understand.
Remember that the sketch is not final, but a working version that helps you express the idea before moving into materials and measurements.
Step 3: Choose Fabrics and Materials
At this point, the design starts to take shape. The focus shifts from how it looks to how it feels and performs.
The fabric you choose changes how the garment feels and performs. A cotton t-shirt moves and wears very differently from a knit or polyester blend.
Working with fabric samples or fabric swatches helps you see and feel the difference before making a decision. This makes it easier to choose materials that match the design.
Colors and surface details start to take shape here. If the design includes prints, the fabric needs to handle them well.
It is natural to feel excited when the design starts to come to life. Still, stay focused on how the garment performs as well as how it looks.
Picking the right fabric early can save you from fit problems and redoing work later.
Step 4: Define Measurements and Fit
With the design and materials in place, the focus shifts to fit.
A design can look good in a sketch, but it still needs to work on the body. Size, proportions, and movement all affect how the garment feels when worn.
Many beginners guess at this stage. That usually leads to samples that feel too tight, too loose, or different from the original idea.
Focus on the basic measurements first. Look at the length, width, sleeve shape, neckline, waist, and overall fit. Even if the design is inspired by another piece, the measurements need to suit your version.
Clear fit decisions make the next step easier. They help turn the design into something that can be documented, sampled, and adjusted with less confusion.
Step 5: Create a Tech Pack
Everything needs to be properly documented before moving forward.
A tech pack turns your idea into instructions that others can follow. It brings all the details together so the garment can be made correctly.
It usually includes the sketch, measurements, materials, and construction notes. Some tech packs also include a bill of materials, which lists each component used in the garment.
Think of it as a working template that holds all the elements of your design in one place. Each page should make it easy to understand how the piece should be made, from pattern references to finishing details.
Manufacturers rely on this document to produce your garment. Without it, small details get missed, and results can vary.
A clear tech pack reduces confusion and keeps the design consistent from concept to production.
Step 6: Make a Sample
The sample is the first physical version of your design.
At this stage, the garment is cut, sewn, and tested in real life. You can finally see how the piece looks, feels, and fits when worn.
The first sample rarely matches what was imagined. Fit issues show up. Fabric may not behave the way you expected once the piece is worn.
That is normal.
Sample management helps you track what needs to be fixed before the next version. Keep notes on fit, construction, fabric, and finishing details.
A sample is not just proof that the design can be made. It is a working step that moves the design closer to something ready for production.
Step 7: Refine the Design
After reviewing the sample, changes begin.
Small issues become visible once the garment is worn. The fit may need correction. Materials may not perform as expected. Construction details may need to be improved.
Refinement is part of the process.
Changes are made step by step. Each version builds on the last and brings the design closer to what was planned.
This stage may take more than one round, and that’s okay. Most garments go through several versions before they are ready.
Keeping track of each version helps avoid repeating the same issues. It also makes it easier to compare changes and move forward with more confidence.
Tools for Designing Custom Clothing
Different tools support different parts of the design process.
You can start with simple options or move into more advanced programs as your work develops.
Sketching tools help you draw and refine ideas, either on paper or on a computer. Many designers begin with free tools before switching to more structured software.
Digital tools also make it easier to organize your work. You can upload sketches, save images, and keep everything in one place instead of managing separate files.
There are also apps to design clothes that combine sketching, pattern work, and basic product development features. These tools can help you move faster and keep your process clear.
A website-based tool can be useful if you want access to your work from different devices or locations.
The focus should stay on what helps you work better. The right tool supports your process without adding extra complexity.
Common Mistakes When Designing Clothes
Mistakes usually happen when parts of the process are skipped or rushed.
Issues often start early in the project but only become visible later, during sampling or production.
Skipping measurements is one of the most common problems. A design may look right in a sketch, but without proper sizing, the fit will not work on the body.
Fabric is another area that gets overlooked. Materials behave differently once they are cut and sewn, and that can change the outcome of the garment.
Working without clear specs also creates confusion. Missing details in tech packs make it harder to produce the design correctly.
Some designs also move forward without thinking about production. That leads to delays, extra revisions, or results that do not match the original idea.
Paying attention to each stage of the project helps avoid these issues and keeps the process easier to manage.
How to Start Designing Your Own Clothes
Getting started is often the hardest part, especially for beginners.
Start with one simple garment instead of jumping into a full collection. It keeps things manageable and helps you actually finish what you start.
Trying to do too much early on can slow you down and make the process feel heavier than it needs to be.
Use something you already own as a reference. Look at how it fits, how it is constructed, and how the fabric behaves. This makes it easier to understand what works before creating something new.
Set a clear goal. Focus on finishing one design from idea to sample. That is where real progress happens.
The first version will not be perfect. That is part of the process. Each version helps you improve and get closer to what you want.
Keep your focus on one design at a time. Moving between ideas can break momentum.
Designing your own clothes should feel creative and even a bit fun, but staying practical will help you move forward and get something ready.
From Design to Production (Where Most Get Stuck)
Up to this point, everything feels manageable. You have an idea, a sketch, maybe even a sample.
The shift happens when production begins.
Information starts to break apart. Files live in different places. Versions get mixed up. Changes become harder to track.
The process now looks like this:
Design becomes a tech pack
The tech pack goes to a manufacturer
Feedback comes back
Revisions happen
This is no longer just designing. It becomes product data management and decision-making.
As more styles, revisions, and stakeholders get involved, managing this process becomes less about design and more about coordination.
That is where delays and errors start.
Teams lose track of what is current, and updates fall out of sync. For a growing clothing line, this creates pressure. Demand becomes harder to manage, customers feel the gaps, and getting products into a store takes longer.
How Teams Keep Design and Production Aligned
Spreadsheets and shared folders can work early on. But as designs, revisions, and collections grow in depth, they become harder to manage.
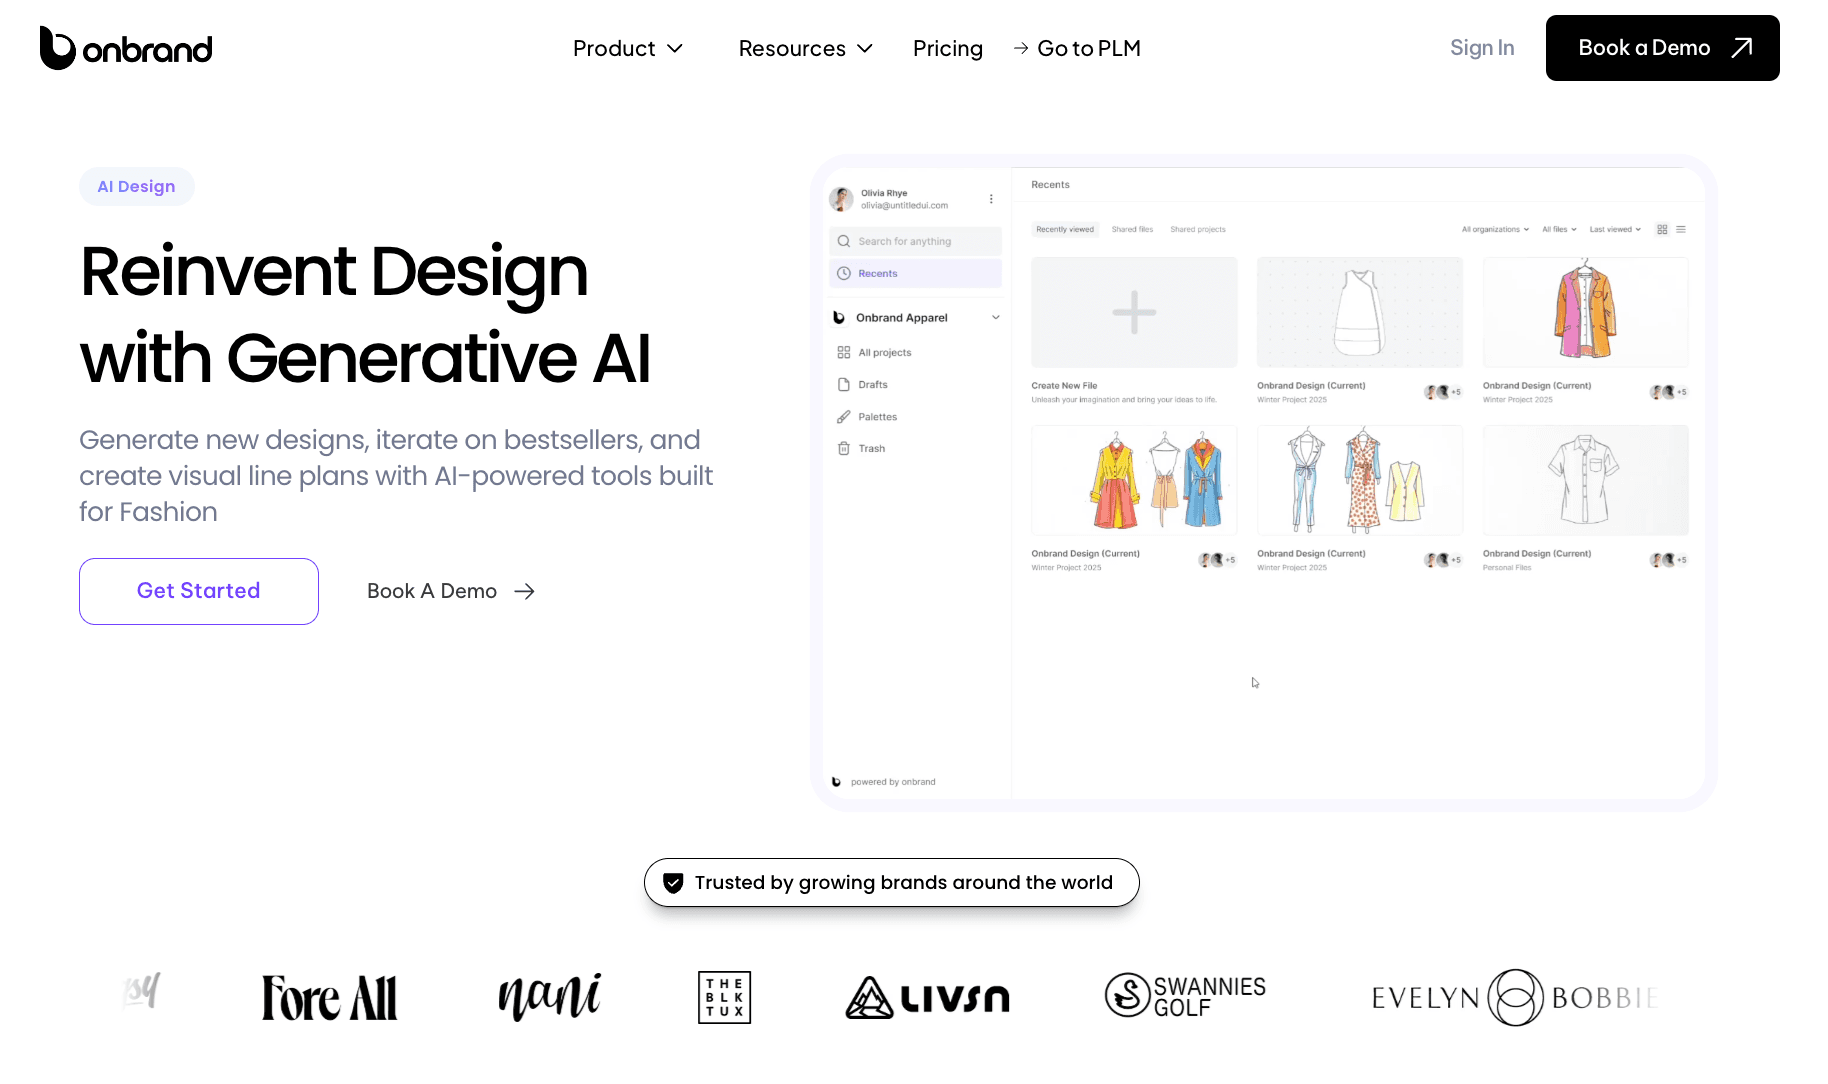
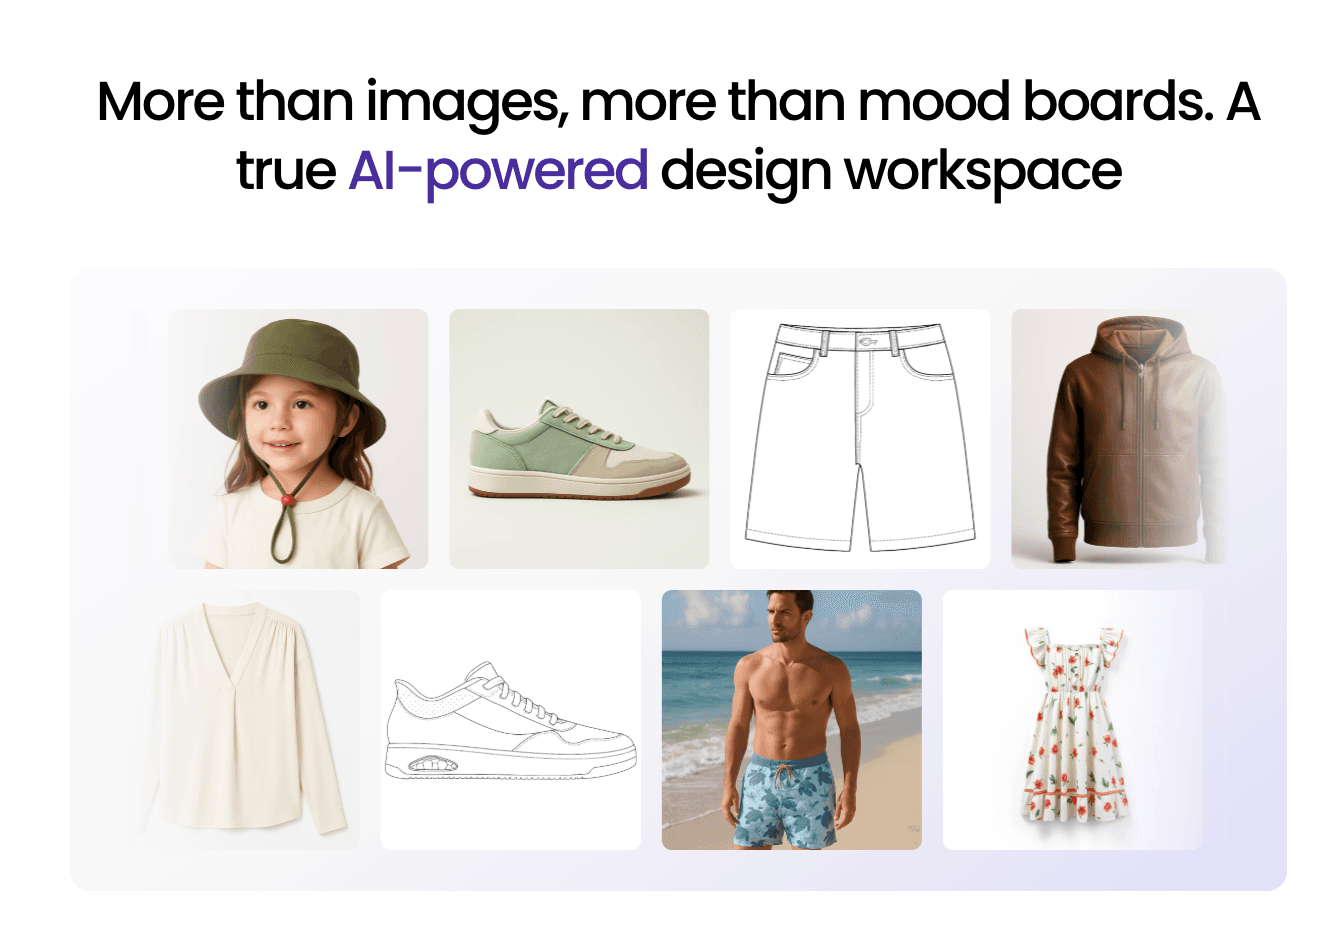
Onbrand AI Design helps teams move from early ideas into clear design work. Designers can turn prompts, sketches, or reference photos into new concepts, mockups, and visuals. They can also explore colorways, trims, cuts, and design variations before the style moves forward.
It also supports mood boards, visual line plans, shared feedback, and export into Onbrand PLM, so the work does not get stuck between design and development.
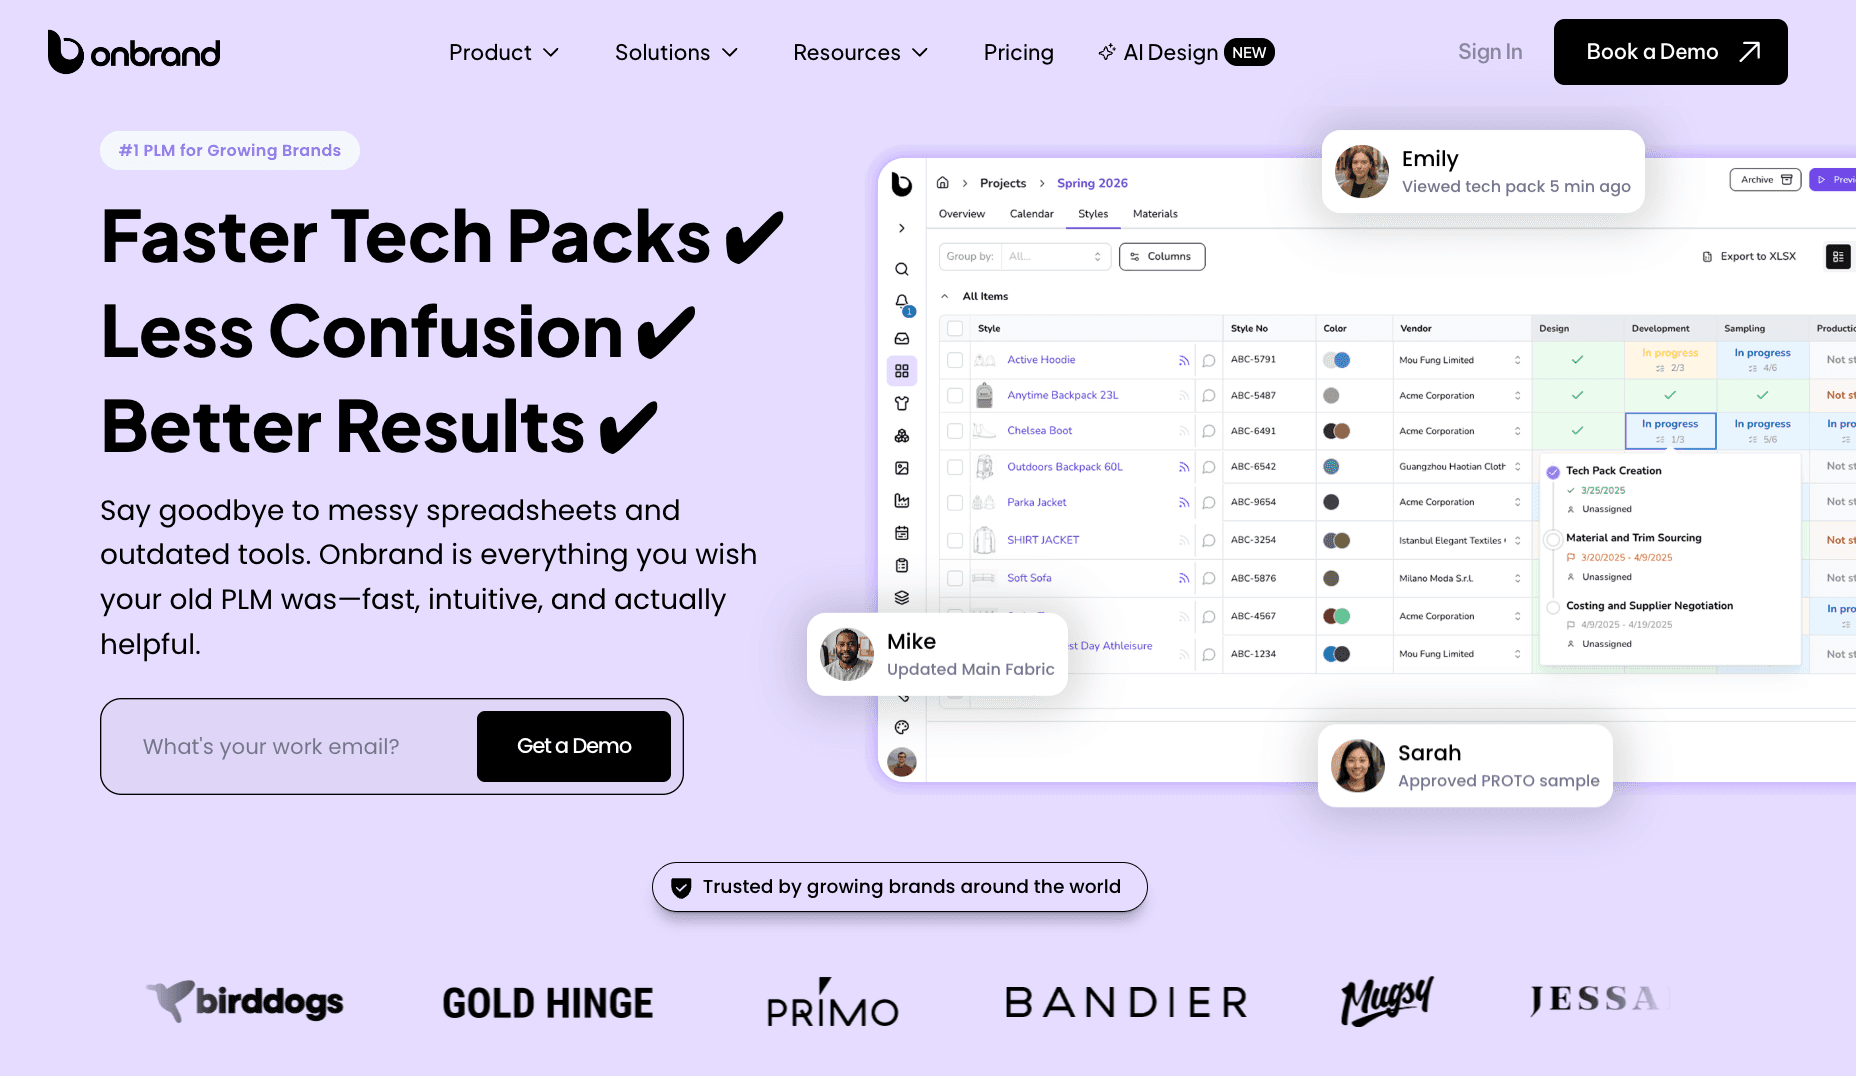
Onbrand PLM supports the next stage. It keeps tech packs, product data, specifications, samples, approvals, and updates in one place. Teams can work from live tech packs instead of sending old PDFs or spreadsheets back and forth.
That helps reduce version confusion, missed details, and repeat work.
With Onbrand, you can get 55% faster tech pack creation, a 4-week reduction in development, and 10-day data migration and implementation.
Together, Onbrand AI Design and Onbrand PLM connect the creative stage with product development. Teams can move from concept to tech pack to production with clearer information and fewer handoff issues.
Design Clothes Without the Back-and-Forth Using Onbrand
Designing clothes starts with an idea, but it only works when each step is clear and connected.
Sketches, fabrics, measurements, tech packs, and samples all build on each other. When one part is rushed or unclear, problems show up later. When each step is handled properly, the process becomes easier to manage, and the results are more consistent.
The biggest change happens when you take one design all the way through. That is where real progress happens.
As designs move into development and production, keeping everything organized becomes just as important as the design itself.
Onbrand AI Design and Onbrand PLM help bring structure to that process, so teams can move from concept to production without losing track of details or versions.
If you want to see how that works in your process, you can book a demo here.
FAQs About How To Design Clothes
What skills do you need to become a clothing designer?
You need basic drawing, an understanding of fabric and fit, and attention to detail. Skills like technical sketching and pattern awareness help turn ideas into garments that can be produced. Most designers improve through practice instead of trying to explore hundreds of ideas at once.
Can beginners design clothes without formal training?
Yes, beginners can design clothes without formal training. Many start by experimenting with free tools, learning from online resources, and getting feedback from others. You don’t have to wait for formal education or sign up for a service to begin. Simple projects are enough to help you build confidence and skill.
What is the difference between fashion design and clothing design?
Fashion design looks at the bigger picture, like trends, collections, and creative direction. Clothing design focuses on building individual pieces that can be produced and worn. Both follow similar steps, but fashion design usually ties into a wider industry route with seasonal planning.
Can you design clothes and sell them online?
Yes, you can design clothes and sell them online through a website, store, or social media post. A lot of small brands begin this way, growing a community by sharing their work and encouraging people to subscribe for updates and new drops.

