Apr 21, 2026

If you’re designing clothing for production, a clear and complete tech pack is your best friend. It connects your design concepts with your manufacturer’s execution.
Without one, even a strong idea can lead to costly errors, delays, or quality issues during sampling or production.
If you’re learning how to create tech packs for fashion, it helps to understand how everything fits together early.
A tech pack organizes all product details in one place, so your team and suppliers stay aligned. It supports the entire product development process, from first sketch to final sample, and keeps production on track.
In this guide, you’ll learn what goes into a fashion tech pack, how to create one step by step, and which tools can help you get it done faster and more accurately.
TL;DR
To create tech packs for fashion, you need a clear document that connects your design to production and keeps teams aligned.
A tech pack includes sketches, measurements, materials, construction details, costs, and packaging.
The step-by-step process includes creating technical sketches, building the spec sheet, listing materials in the BOM, defining construction details, adding a cost sheet, outlining packaging, and completing a final review with version control.
Common mistakes to avoid include missing measurements, unclear sketches, outdated files, and incomplete material details.
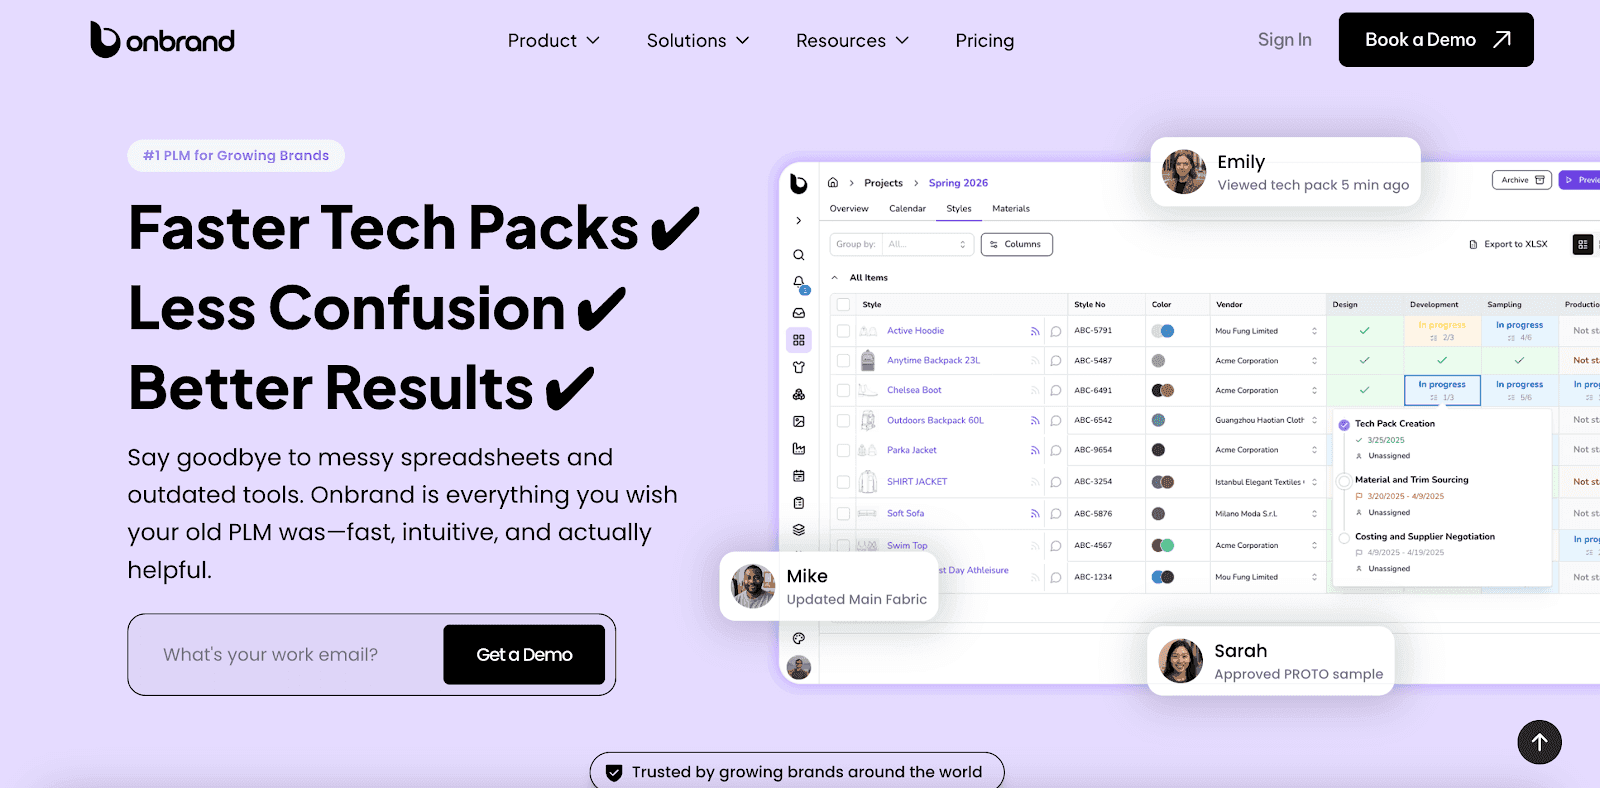
Tools like Illustrator and spreadsheets work for early stages, but PLM systems such as Onbrand PLM help you manage everything in one place and create tech packs faster.
What Is a Tech Pack?
A tech pack (short for technical package) is a detailed document that explains how a garment should be made. It follows a detailed tech pack format, so everything is easy to read and consistent.
It includes everything clothing manufacturers require to produce a garment correctly, such as technical sketches, measurements, fabric details, trims, and construction notes.
A typical tech pack includes spec sheets, material details, and clear instructions that manufacturers understand without guesswork. This helps teams avoid confusion during sampling and production.
For fashion designers and product developers, tech packs keep production accurate and on track. A clear tech pack helps prevent delays, reduces errors, and makes sure the final product meets your quality standards.
Whether you build it in Adobe Illustrator, Excel, or a product lifecycle management (PLM) tool, a professional tech pack helps your team and suppliers work from the same information and produce consistent results.
Key Components of a Tech Pack
A solid professional clothing tech pack keeps everyone aligned. The goal is to include the right level of detail without overwhelming your team or factory. Keeping information consistent and clear helps everyone work from the same reference point.
A tech pack typically includes several key elements:
Cover page – Basic info like the garment style name, date, season, and contact details for easy reference
Technical sketches – Show the main design elements of your idea in a flat, front, and back view
Specification sheet (spec sheet) – Lists all garment measurements by size, including tolerances and exact values needed for fit and quality control
Bill of materials (BOM) – A full list of materials and trim, including fabric type, fabric weight, hardware, labels, and other components
Construction details – Notes on how to put the clothing together, such as how to stitch, where to put seams, and how to finish
Cost sheet – This helps you figure out how much something will cost to make by listing things like ingredients, labor, and other costs
Packaging and labeling – Clear directions on how to fold, put barcodes on, hang tags, and pack the item for shipping
Each part, when done right, helps communicate better, cut down on mistakes during production, and deliver a consistent final product.
How to Create a Tech Pack Step by Step
Below is a step-by-step guide to creating a professional tech pack for your clothing designs, even if you’re just starting out.
Step #1: Create Clear Technical Sketches

Start with detailed technical drawings of the front and back views.
These are often called technical flats, and they show the garment without stylization or movement. Keep the lines clean, accurate, and labeled where needed. Maintain good image quality so every detail is easy to read.
Many experienced designers use Adobe Illustrator or AI-powered tools like Onbrand AI Design to create these sketches. The goal is to help the maker understand every part of the garment’s construction, right down to the stitch lines, seams, and panels.
Display the item of clothing from multiple angles when needed, and include zoomed-in views for construction details that need more information.
Step #2: Build the Specification Sheet
Aside from the sleeve length, the spec sheet has precise measurements for the chest, waist, inseam, and other points. Take real numbers from your sample or plan and use them.
Make sure that the measures are the same in the whole size range and include tolerances (acceptable variations) or allowed differences.
This section is essential for pattern makers and quality control planners. It helps the fit sample and future production runs match your sizing expectations.
Step #3: List All Materials in the BOM
The BOM outlines all raw materials used in the garment. Include the main fabric, fabric type, fiber content, fabric weight, color codes, trim details (buttons, zippers, labels), and their placement.
Be specific. Instead of writing “cotton,” write “100% organic cotton, 200 GSM, plain weave.” This makes sourcing easier for factories and helps maintain consistency in the finished product.
Clear information about the material helps make sure that the finished garment meets your original needs and stays the same during production.
This section also connects directly to your cost sheet and supports accurate budgeting.
Step #4: Define Construction and Assembly Details
This part explains how the garment is made. There should be tips for different types of stitching, such as flatlock, overlock, and double-needle, as well as steps for placing seams, making pockets, and finishing the project.
If you can, back up your directions with technical drawings or detailed callouts. Manufacturers need to understand every process required to complete the piece, especially when garments have multiple components or layers.
Clear construction notes help improve quality control and reduce errors during sampling.
Step #5: Add a Cost Sheet to Estimate Production Costs
Your cost sheet helps you calculate production costs by tracking all expenses involved in making the garment. Include fabric cost per meter, trims, labor, packaging, and overhead.
Even a rough estimate helps your team make decisions with accurate pricing in mind, including minimum order quantities (MOQ) and margin targets.
Being able to see costs also helps you have better communication with vendors.
Step #6: Outline Packaging and Labeling Requirements
Don’t skip the packaging section. Here, specify how to fold, bag, tag, and name each item of clothing.
Include barcodes, hang tags, care labels, or custom inserts. These details help protect your brand identity and prevent issues when the final product is shipped to retailers or customers.
This section is especially useful for quality control planners who check every delivery before it leaves the factory.
Step #7: Final Review and Version Control

Once your tech pack is complete, double-check everything. Look for missing information, features that do not match up, or sketches that are out of date. Clean formatting matters, as your manufacturer should be able to find details without guessing.
Save your document with clear file names (e.g., “Jacket_Style123_TechPack_v2”) and maintain version control. This creates a clear record of updates as your design evolves.
If you have PLM software, take advantage of real-time communication tools to make sure everyone on your team is on the same page with the design changes.
A complete, up-to-date tech pack reduces issues caused by incomplete specifications and helps keep the production process running smoothly.
Tools and Templates to Help You Create Tech Packs
Creating a professional tech pack doesn’t require a complicated setup, but the right tools can make a big difference in speed, accuracy, and collaboration.
While some teams start with spreadsheets or downloads, growing brands quickly outgrow these workarounds and need something more reliable.
Here’s how teams typically approach tech pack creation:
Adobe Illustrator
Still the standard for technical sketches and fashion flats.
Illustrator gives designers the control they need for detailed garment drawings and is often used to create visuals that get pulled into the tech pack.
Microsoft Excel or Google Sheets
Useful for early-stage brands managing a small number of styles. Teams often use these tools to build BOMs or specification sheets, but manual data entry still takes up a lot of time.
As product volume grows, it becomes harder to manage updates, share files, and track version changes.
PLM Platforms

Fashion PLM tools like Onbrand PLM replace static files with live, editable tech packs.
You can build tech packs using pre-set tech pack templates, upload sketches, manage spec sheets and materials, and track every update in one place.
Collaboration happens in real time, so your team and vendors stay aligned without digging through emails or re-exporting PDFs. If you’re just getting started, you may find free tech pack templates online to start creating your first version.
But for brands managing multiple styles or suppliers, a purpose-built system like Onbrand PLM helps teams work more cost-effectively by keeping everything connected and reducing rework.
If you want to see how this works in practice, book a demo and try it for your team.
What Not to Do When Creating a Tech Pack
Even a small error in a tech pack can lead to costly missteps during production. Whether you’re a new fashion designer or managing a growing brand, avoiding these common tech pack mistakes can save time, money, and materials.
Missing or unclear measurements – Leaving out key sizing details or tolerances can result in poor fits. Always double-check your spec sheet for exact measurements, especially in high-impact areas like shoulders, waist, or inseams.
Inconsistent or outdated files – If you’re not using version control, small updates can get lost. Keep one master file and make sure everyone’s working from the latest version to avoid confusion.
Vague technical sketches – Sketches that lack clarity or detail can cause misinterpretation. Stick with professional flat sketches that show construction lines, seam placements, and any special features.
Incomplete material or trim info – Missing fabric type, weight, or color codes makes it harder for manufacturers to source correctly. Always fill out your BOMs with specifics.
Skipping packaging instructions – Overlooking folding or labeling requirements can hurt brand presentation and quality control. Add simple, clear packaging notes in your tech pack to guide final prep.
Overcomplicating your first pack – Trying to include too much detail upfront can slow you down. Focus on the essentials first, then build in more as needed. This helps reduce the learning curve while keeping your process consistent.
Avoiding these mistakes helps create tech packs that are easier to follow, revise, and use for your entire team.
Why Leading Fashion Teams Use Onbrand PLM for Tech Pack Creation
Managing tech packs through scattered spreadsheets, endless email threads, and outdated file versions slows down production, increases errors, and wastes valuable time for design teams.
Fashion brands working in this way often spend more time fixing miscommunications than moving products forward.
Onbrand PLM offers a better way.
Teams can start with Onbrand AI Design to develop and refine concepts, then move directly into structured tech packs without switching tools.
Onbrand PLM replaces scattered spreadsheets, emails, and disconnected files with one platform built for fashion design and product development. It keeps design and production connected and supports teams as they scale.
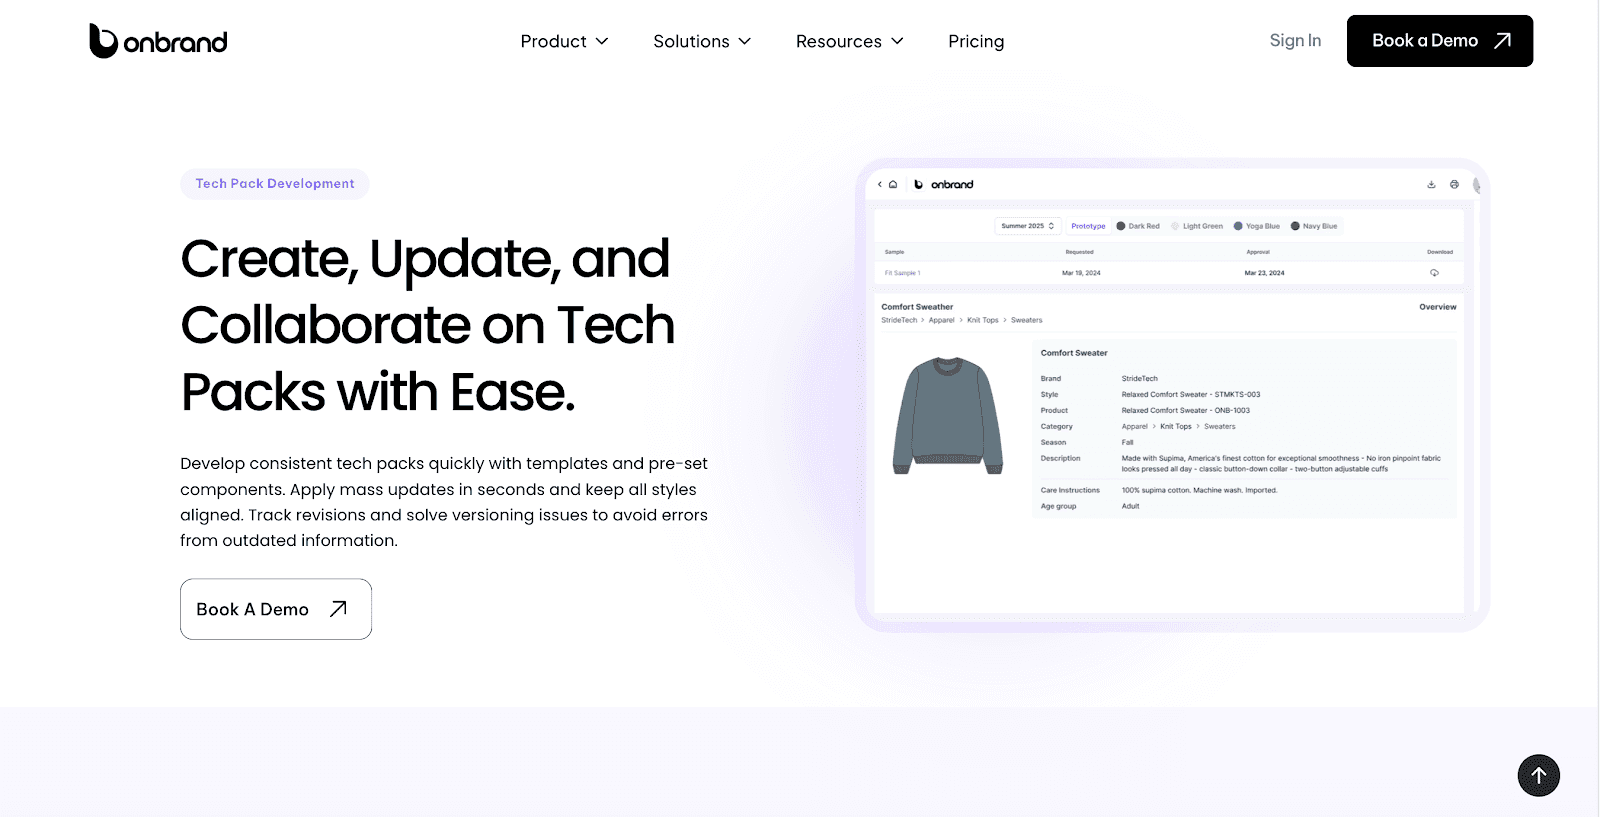
Create Professional Tech Packs in Minutes
With Onbrand PLM’s live templates and structured components, building consistent, factory-ready tech packs is fast and simple.
Teams using Onbrand PLM create tech packs up to 55% faster, keeping the focus on design instead of tedious data entry.
Always Up to Date, Always Accurate
Say goodbye to exporting PDFs and endless email attachments. Onbrand PLM’s live tech packs update instantly, making sure your entire team and vendors always see the latest information.
This eliminates costly production errors caused by outdated versions.
Real-Time Collaboration, Zero Confusion
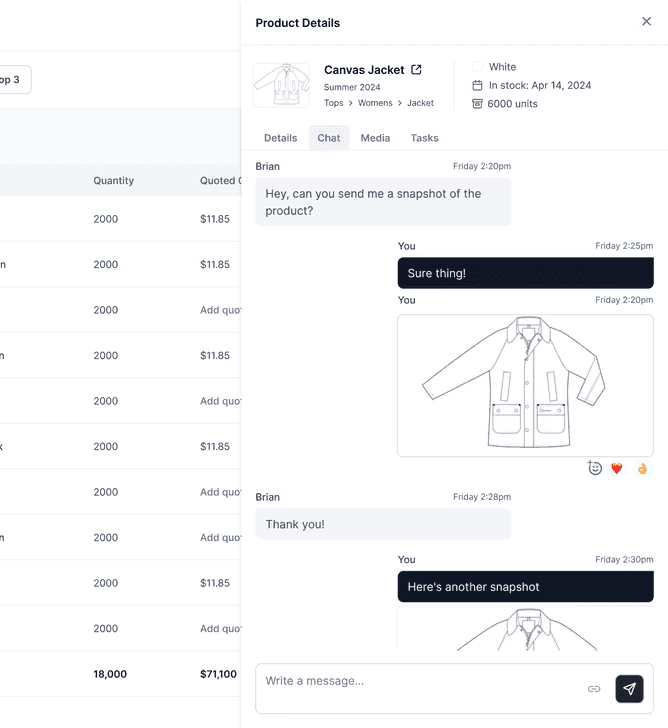
Communicate with your team, vendors, and stakeholders directly within the tech pack.
Comments, live chats, and notifications keep communication centralized, clear, and organized, saving hours spent tracking down messages in email and chat apps.
Fast Onboarding and Immediate Impact
Unlike legacy PLMs that require 6–24 months of setup and expensive customization, Onbrand PLM gets your team running smoothly in just two to four weeks.
With AI-powered data migration, you can start working with your real data from day one. No extra hires or delays.
Effortless Version Control
Track every revision and update effortlessly, so you always know exactly what changed, when, and by whom. Onbrand PLM’s built-in version control gives your team complete visibility, streamlining approvals and eliminating guesswork.
Flexible Vendor Management
Assign multiple factories to a single tech pack while keeping communication, pricing, and internal notes separate. Onbrand PLM makes dual sourcing simple, secure, and fully trackable without extra manual work.
Build Your Next Tech Pack With Onbrand
A clear, professional tech pack sets the foundation for efficient, accurate production and works as a complete guide for your team and manufacturers.
With all components documented in one place, you avoid missteps, speed up development, and maintain consistency in every style.
In the fashion industry, a factory-ready tech pack isn’t just helpful. It’s a must-have. It supports quality control, reduces back-and-forth, and helps your designs move through the production process faster.
The more precise your tech pack, the smoother things run from first sketch to final sample.
Using Onbrand PLM makes this process easier. You can build, update, and share your tech packs in one place. No more scattered files or outdated specs. It gives your team the structure needed to move faster with clarity and control.
Book your personalized demo today and start building tech packs up to 55% faster with Onbrand.
FAQs About How to Create Tech Packs for Fashion
What does a clothing tech pack include?
A clothing tech pack includes all the details needed to turn your design into a finished product. This typically covers technical sketches, a specification sheet with exact technical specifications, a bill of materials, construction notes, cost estimates, and packaging instructions. Together, these elements guide manufacturers through every step of the production process and help organize the different components that make up your garment.
How much does it cost to create a tech pack?
The cost to create a tech pack can vary. If you build it yourself using tools like Illustrator or Excel, the cost is mainly your time. Hiring a freelance technical designer usually ranges from $100 to $500, depending on complexity. Using a platform like Onbrand helps reduce long-term costs by organizing everything in one place, helping you market faster and avoid repeat errors.
Who can create a tech pack?
Fashion designers, technical designers, product developers, and even founders can create a tech pack. Anyone familiar with garment construction and design details can put one together. For newer teams or first-time creators, starting with tech pack examples or using a user-friendly platform like Onbrand can make the process easier.
Why is a comprehensive tech pack important in the fashion industry?
A comprehensive tech pack ensures your team and manufacturer stay aligned at every stage of production. It includes all specifications, visuals, and other details that reduce back-and-forth, prevent costly mistakes, and help maintain brand standards. For growing teams, it’s one of the most important tools for keeping collections consistent.

